Grunt and filth
One of the joys of working on motorbikes, rather than cars, is everything is so much more accessible. Ones skin can, largely, remain on ones knuckles and there is rarely the need to grovel around on the floor working upside-down while rust and dirt fall in ones eyes.
There is less call too for brute force and grunt as most fastners are more delicately made sensibly placed. Less, but not none.
For some reason, the physically tough jobs have all come at once. Firstly, because I am still waiting for parts, I decide to strip down the rear end. Off comes the drive chain, and with only a small tussle the back wheel. Next the shock absorbers and rear mudguard are removed, which is a dirty but easy job. Finally the swing arm itself can be released.
The swing arm is the substantial U-shaped frame that supports the back wheel. At the front it is pivoted onto the main frame so it can swing up and down, while a shock absorber on each side cushions and dampens the movement to create a proper suspension system.
 |
| Part number 11? I hate you. |
The nut puts up a good fight, but with the help of a three foot long extension bar it has little choice but to submit.
That was the easy part, as for withdrawing the bolt... how? With the fingers? By asking it nicely? This one feels like it has been welded in place, it won't even turn let alone pull out. Fortunately there are several places along the swing-arm-to-frame joint where some good old WD40 can be squirted in and eventually, and very reluctantly, the bolt starts to turn.
But it does not come out, it just goes around and around. After triple checking I have not missed anything - a locknut or circlip or something else holding it position - out comes the trusty rubber mallet.Which rapidly deconstructs itself into little rubbery pieces. Oh dear. Time for the five-pound club hammer.
Tip: Do not hit the end of a bolt with a hammer, unless you want to ruin it. The threads will distort making it impossible to get a nut on ever again, and the end will splay out so it won't come out of the hole it is in. Instead, thread a nut part way on the end and hit that instead. Worst case, you ruin the nut.
After about an hour of squirting, rotating, and hammering as hard as I dare it finally starts to move and very very gradually agrees to be "withdrawn".
I see the problem. On this bike, the swing arm pivot is a plain bearing -- that is simply a steel rod rotating inside a steel sleeve with just oil or grease in between. But you guessed it, there's no oil or grease. The grease nipples that Triumph thoughtfully fitted to the bearing have clearly been ignored for years. Honestly, nipples are not just there for decoration. Well, maybe on men they are.
Despite the neglect the bearings have not rusted and clean up nicely, no expense required.
Now I need to clean up the area around the swing arm pivot. This is where the oil and gunge leaking from under the engine blows back and mixes with the oil and gunge coming off the chain and combines with the dirt and filth spraying off the road. Lovely. Industrial detergents won't touch this stuff, I have to use brake cleaner.
And so onto the next muscle job -- the new tyres have arrived.
Now changing motorcycle tyres is a job I vowed to give up years ago. Modern tubeless tyres are very stiff and fit very tightly to the rims, and the rims are wide with shallow wells. All of which makes them an absolute nightmare to fit without the proper machinery. It is far easier to pay a garage £20 to watch them do it for you.
But this is a vintage motorcycle, with good old spoked wheels. The tyres are big and flexible, the rims are narrow and deep and it's basically just a big bicycle wheel... isn't it? How hard can it be?
 |
| Tyre security bolt. Complete PITA. |
Modern tubeless tyres may be tough to fit, but they are simple. You have a wheel and a tyre and all you need to do is muscle one onto the other. Not so here -- first there is a rim tape to protect the inner tube from the spoke ends, then there are two tyre security bolts which, when tightened, stop the tyre slipping around the wheel, then there is the inner tube with its valve and finally the tyre to bully on over the top of this lot without damaging or misplacing anything.
The first thing that happens is the "heavy duty" rim tape I bought snaps and falls off. It's clearly not up to the job, and neither is the old one, so I make one by cutting a strip out of the old inner tube. Next, I manage to get the first tyre bead over the rim, but cannot for the life of me get the security bolts into position inside the tyre, they are far too wide. I am going to have to reuse the old ones. Getting the inner tube inside the tyre is not easy either, and wiggling the valve into its hole is a total pain.
Now the normal technique is to slather the rim with tyre soap and kneel/stand on one side of the tyre to keep the bead pressed into the well in the middle of the rim. This should create just enough slack to be enable the bead on the opposite side to be forced over the rim with a couple of tyre levers and a lot of muscle.
 |
| Success! |
At least it is in my case. After much sweating and grappling I finally get everything into place. It holds air pressure and I have even managed put it on the right way around (yes, they do have a right and wrong way around). The modern tyre does not look out of place, in fact it looks pretty good, kind of like a supermoto wheel.
Well, in for a penny... I balance what is left of the bike precariously on various jacks and blocks of wood and take off the front wheel.
Having got the hang of it, the front tyre (which has no security bolts) goes on much more quickly easily. But unforunately it leaks. I have managed to cause a "snake bite" puncture to the inner tube with one of my tyre levers. It all has to come off so I can repair the tube and start again.
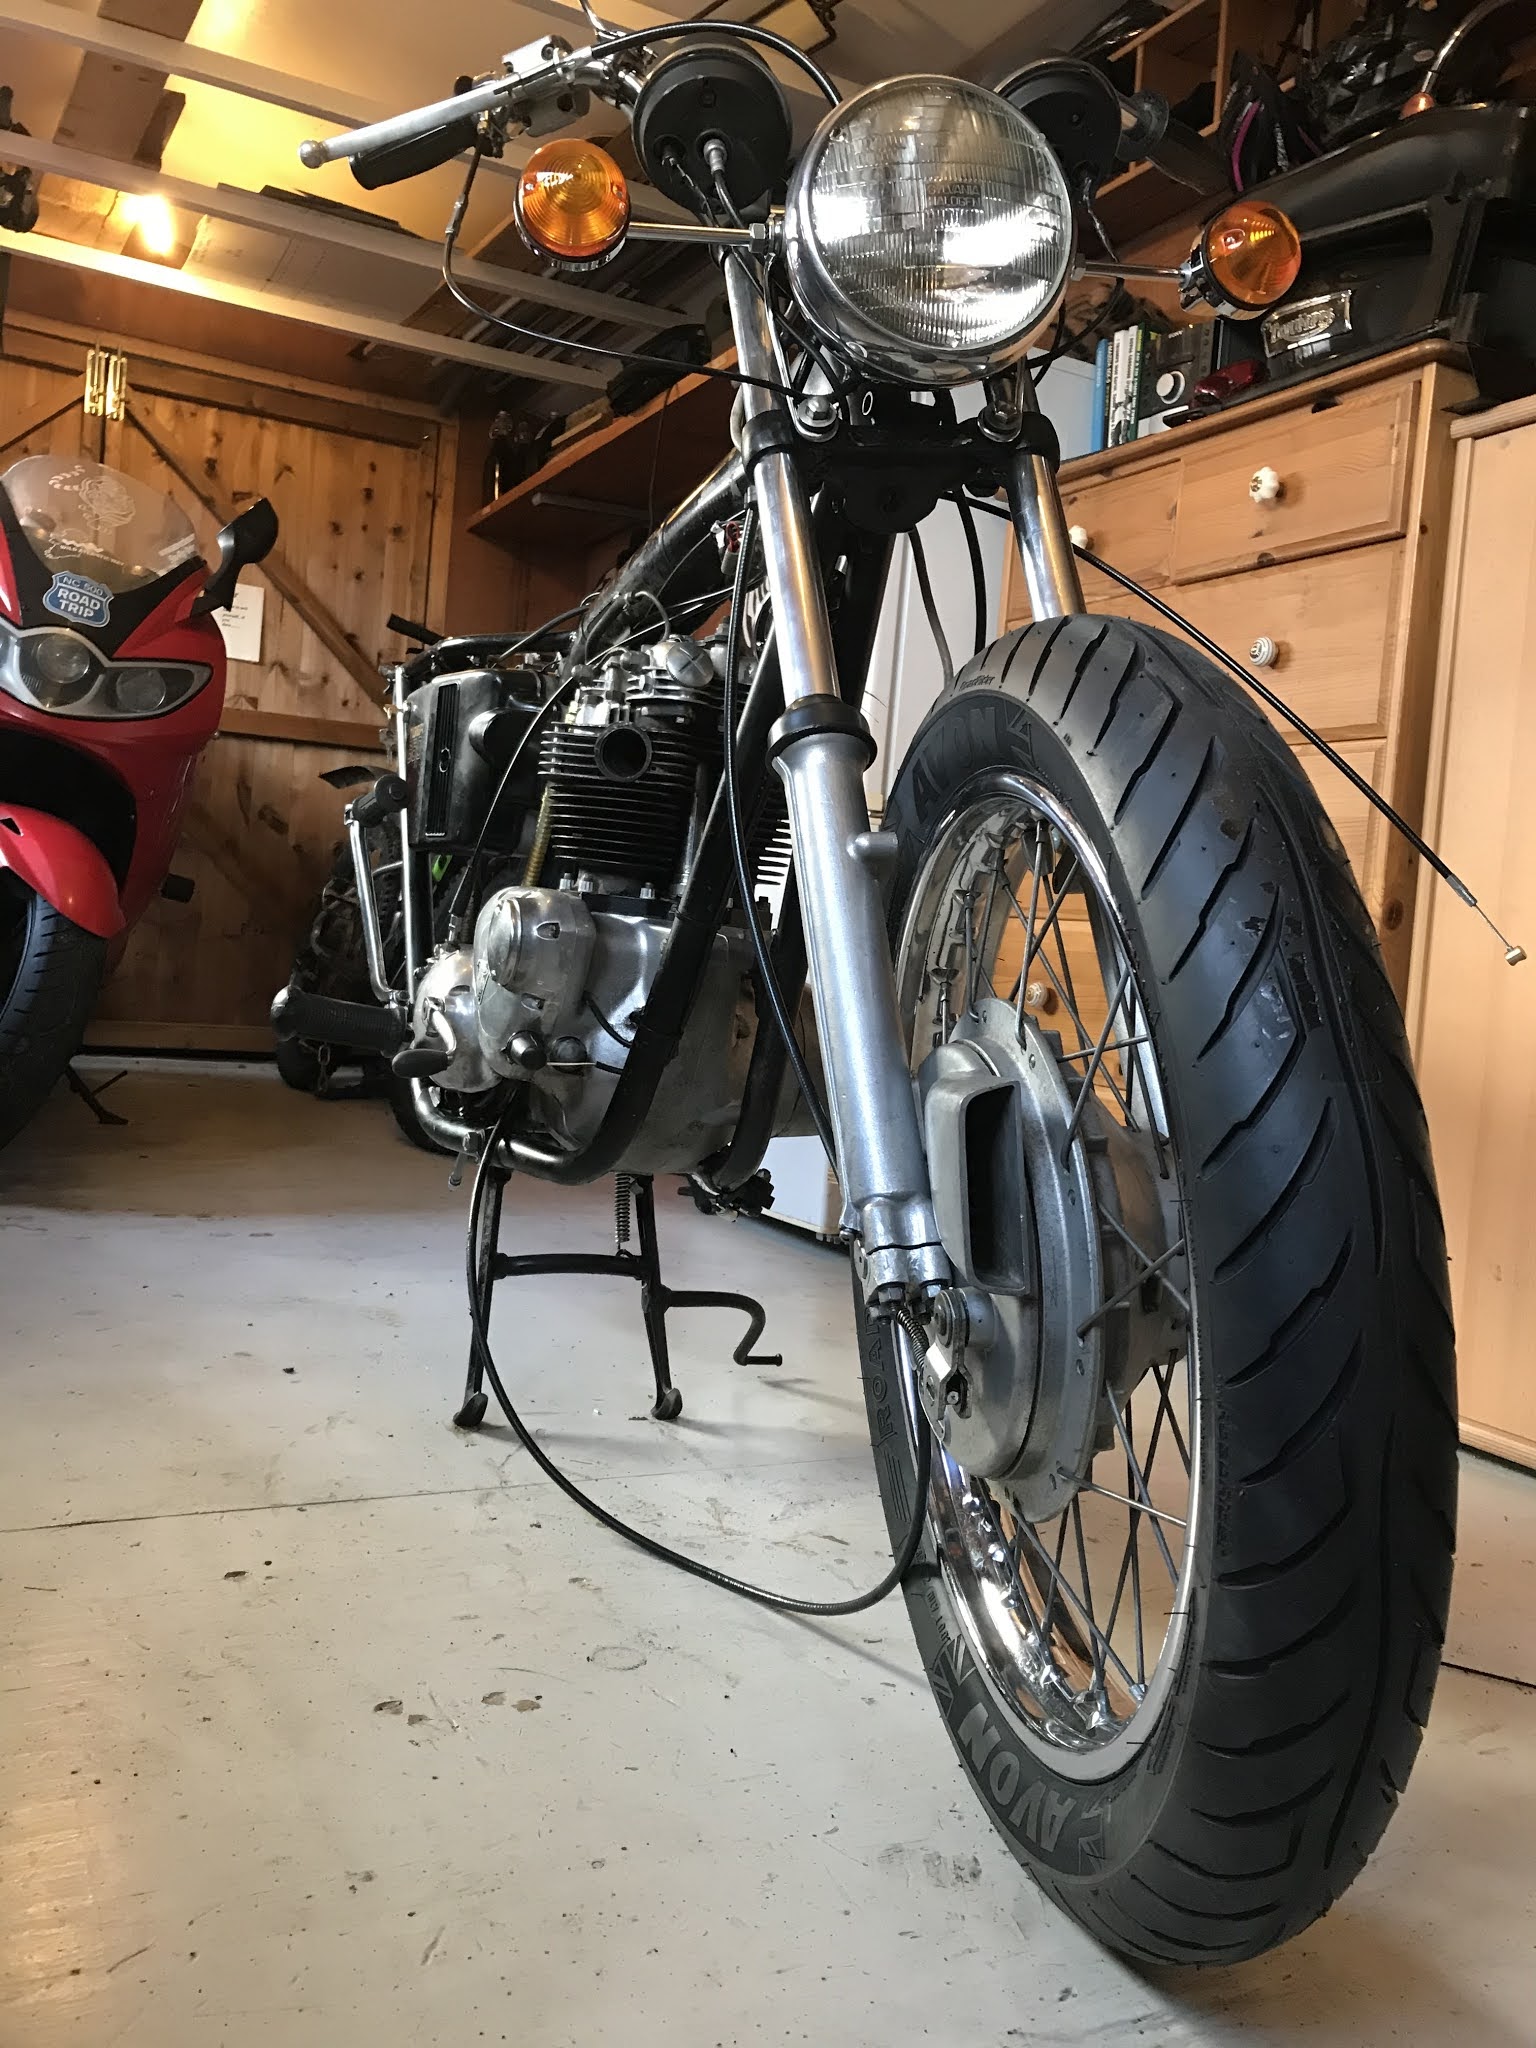 |
| Baghera starting to come together while the Red Arrow looks on with jealousy. |
Well that was one sweaty, filthy day in the workshop. But that's should be it now, no more fithy bits to clean and no more ugly brute force jobs to do. At least I hope not...
Expenditure, I'm pleased to say, has slowed down considerably. The chain and sprockets are in excellent condition and can be kept, saving £100. The speedo drive, which I thought was shot, is actually fine and cleans up nicely. I'm replacing all the fuel and oil pipes and their clamps, but they don't add up to much. The exhaust just needs a new link pipe and clamps, which are now on order. The only bits still to track down now are some rear brake parts and the odd nut and bolt.
Well... and the paint job and a possible engine rebuild. But let's not split hairs, shall we?
TOTALS TO DATE: Hours: 60. Cost: £5561.


Moar updates plz!
ReplyDeleteThat is one good looking wheel
ReplyDelete